How to build a trap thrower: A step-by-step guide
Building your own trap thrower can be a rewarding project, allowing you to customize it to your specific needs and preferences.
This guide will walk you through the process, from gathering materials to final assembly.
Materials needed
- Base and Stand: Metal or wood
- Throwing Arm: Metal rod or aluminum strip
- Tension Spring: Heavy-duty
- Pivots and Bearings: For smooth operation
- Trigger Mechanism: Lever or electric switch
- Power Source: Motor (electric models) or manual crank
- Fasteners: Nuts, bolts, and screws
Step-by-step instructions
- Design the blueprint
- Sketch the design of your trap thrower, considering the dimensions and angles required for the throwing arm and base.
- Determine the power source and how it will integrate with the throwing mechanism.
- Build the Base
- Cut and assemble the base using metal or wood, ensuring it is stable and robust.
- Attach the stand to the base, providing a secure foundation for the throwing arm.
- Assemble the throwing arm
- Cut the metal rod or aluminum strip to the desired length for your throwing arm.
- Attach the tension spring to the base and the throwing arm. The spring should provide enough tension to launch the clay pigeon effectively.
- Install the pivots and bearings
- Attach pivots and bearings to the base and the throwing arm. These components will allow smooth movement of the throwing arm.
- Attach the trigger mechanism
- Install the trigger mechanism on the base. If using a manual lever, ensure it is easily accessible. For electric models, connect the trigger to the motor.
- Set up the power source
- For electric models, mount the motor on the base and connect it to the throwing arm. Ensure the motor is securely fastened and wired correctly.
- For manual models, attach a crank to the throwing arm to provide the necessary force for launching.
- Test the thrower
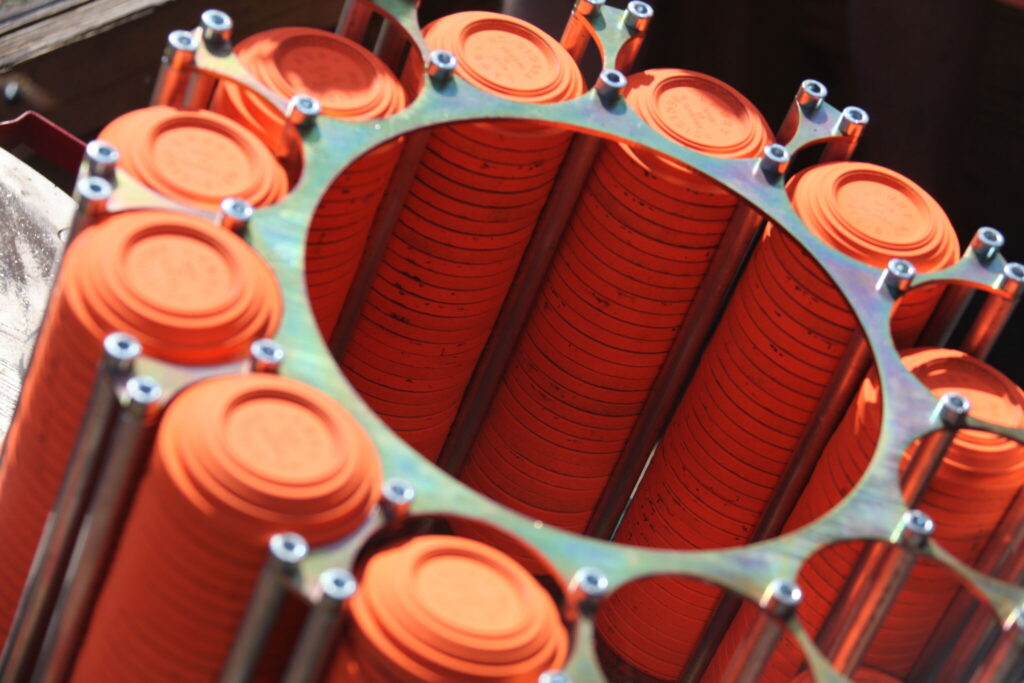
- Load a clay pigeon onto the throwing arm and test the mechanism.
- Make adjustments to the tension, angles, and trigger sensitivity as needed.
Tips for success
- Safety First: Wear protective gear and ensure all parts are securely fastened.
- Precision: Use precise measurements and high-quality materials to ensure reliable performance.
- Adjustability: Incorporate adjustable components to customize throwing angles and distances.
Conclusion
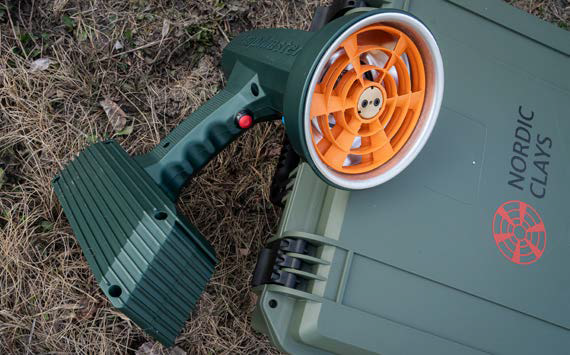
Building a trap thrower requires careful planning and craftsmanship. By following these steps and paying attention to detail, you can create a functional and reliable trap thrower tailored to your needs. For more tips and high-quality materials, visit Nordic Clays.
Happy building and shooting!